Showing posts with label buttercream. Show all posts

Friday, 19 October 2012

Trick or Treat? Halloween Cupcakes

I love Halloween. I know I shouldn't, I should think it's a ridiculous Americanised holiday that was created to line the pockets of 'the man', but I can't help myself. After all it's pretty much just an excuse to dress up and eat fun size chocolate bars, what's not to like? I've got a list as long as my arm of Halloween things I want to make, but thought I'd start off simple this week with some cupcakes.

I've had my eye on Sweetapolita's Vanilla Funfetti Cupcakes for a while now, and when I found some black and orange sprinkles at the supermarket it seemed only appropriate that they be used to make my own seasonal version. As far as I can tell, 'funfetti' is just a made up word for 'sprinkles mixed into cake mixture', so I started with my basic sponge recipe and threw a handful of my spooky sprinkles in before baking. I half expected them to all sink to the bottom the way cherries or chocolate chips do if you're not careful, so it was a pleasant surprise when they stayed nicely distributed throughout each cupcake.


I toyed with the idea of decorating the tops with two-tone black and orange buttercream (as per last week's recap post), but wanted to change things around a bit so went for a two layer frosting - a swirl of orange first, topped with a smaller swirl of black. FYI, it is apparently impossible to make proper black buttercream. Black icing colour just made it grey at best, so I added a bit of cocoa powder and ended with dark brown.

The 'funfetti' technique is a really nice touch, I didn't know if the sprinkles would give the cake a strange crunchy texture, but they dissolved completely and left little dots of colour behind - you can't see very well in my rubbish photos though. I'm already imagining a Christmas version using red and green sprinkles!


Difficulty Rating: 1/5

Shopping List:
Wilton Skeleton Baking Cups
Wilton Icing Colours - Black & Orange
Black & Orange Sugar Strands

Sunday, 14 October 2012

Recap: Two Tone Frosting

When I relaunched the blog a little while ago, I took down all of the old posts for a fresh start. But I loved some of those cakes too much to not have them on here at all, so every once in a while I plan on pulling one from the archive and reposting it. Nothing to do with the fact that my house is riddled with illness this weekend meaning I haven't had any time to bake... honest! So here's a recap of my cupcakes with two tone frosting, always a crowd pleaser!


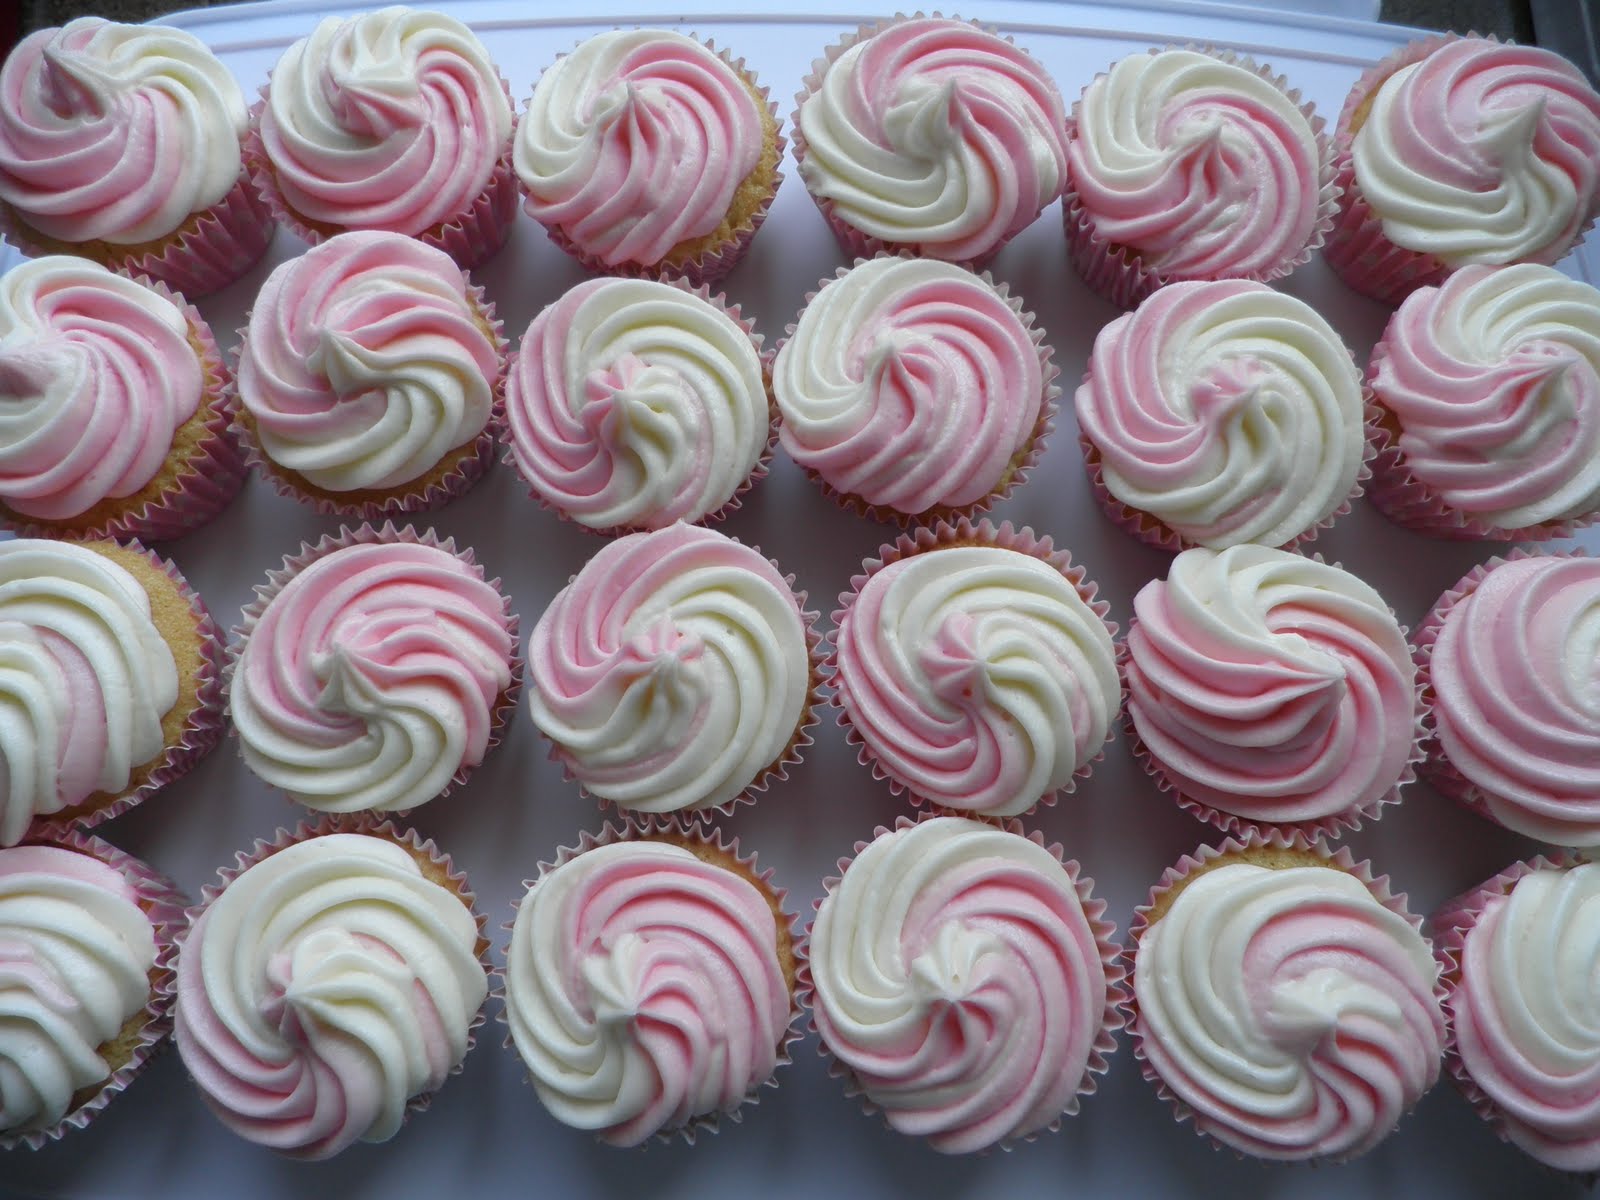
This is something I'd been wanting to try for a while after seeing some really great designs in Hello, Cupcake!, but had never got round to it. As I was making some cupcakes last weekend to celebrate the birth of my new niece, it seemed like a perfect opportunity to try pink and white two tone buttercream icing.

There are a few tutorials online with a few different methods of mixing the colours together, but this seemed like the easiest way. You start with a load of plain vanilla buttercream, and then separate it out into different bowls for each colour you want to use. I went for just two colours, but I'm sure it would work just as well with three or maybe even four. Once you've made each bowl of icing the right colour (I left one bowl plain and tinted the other using Wilton Icing Colour in Rose, which made a really sweet baby pink), put each colour into a separate piping bag - disposable ones are best for this so you can trim the ends to the same size. Then take another piping bag, put a large star tip in the bottom, then put each filled bag inside it next to each other.


Then just pipe the icing onto your cakes as normal and voila - two tone frosting!


UPDATE: You can also use this method to do tri-tone frosting using three different colours in three separate piping bags, like I did over the summer for these patriotic red, white and blue cupcakes.


Sunday, 16 September 2012

We've Got Ears, Say Cheers!

Oh dear, after promising a blog post at least every week I seem to have missed a week already! It was a busy weekend with no time for baking, and then on Monday I attempted a leopard print sponge cake but it was a bit of a fail so I'm still debating whether to share it with the world...

This week's project was an order for Minnie Mouse cupcakes for a little girl's second birthday, and I was SO excited about it. Aside from being a huge Disney addict myself, my baby daughter is already showing the same tendencies and loves Mickey Mouse Clubhouse, and I've already been thinking ahead (way ahead as she's only six months old!) to possible themes for her first birthday party. Pinterest is full of perfectly made Mickey Mouse cakes and themed birthday parties, and these were just a few of my favourites:


For this particular batch the design I used was based on these adorable Minnie Mouse cupcakes from The Cake Bar, I love how simple they are but yet the ears and bow make them instantly recognisable. They were really straight forward to make, just chocolate cake and vanilla buttercream icing, but it's the decorations that make it.

I've had issues when using fondant decorations on buttercream in the past, I think it's the moisture in the butter that starts to break down the fondant and it ends up a soggy mess after a few hours. I was advised that this doesn't happen if you make the decorations in advance and leave them to air dry for a few days before putting them on top of the cupcakes, but unfortunately my forward planning was a bit lacking this week! So I made the red bows the day before and then delivered them separately with instructions to press them into the buttercream on the day of the party. Bows are actually a really easy decoration to make using fondant and are very impressive - this is a great tutorial.

A few white polka dots and a number 2 (for the birthday girl!) finished them off nicely and made them more Minnie-esque. The ears are made from giant chocolate buttons, much tastier than more fondant and easier than cutting out tiny circles. I love how cute these cupcakes are, and they're definitely on the list of possible treats for our little one's first birthday!


Monday, 27 August 2012

Cookie Monster

I've been wanting to have a go at Cookies & Cream cupcakes forever, they're one of my favourite flavours to try when I'm at a bakery. The idea is simple; chocolate cake, vanilla icing and some sort of biscuits or cookies - usually Oreos (which used to be a rare treat until they started selling them in every supermarket!). There are hundreds of versions of these cupcakes online, these are just a few of the ones I liked the look of:

Bakerella: Cookies & Cream Cupcakes
Instructables: Death by Oreo Cupcakes
Your Cup of Cake: Oreo Cupcakes with Cream Cheese Frosting

I started with my standard chocolate sponge recipe, and I couldn't decide which way to add the Oreos; a whole cookie in the bottom of each cake, or broken up and folded into the mixture. So I did both! The recipe usually makes 12 cupcakes, but I was using muffin cases which are a bit bigger than normal so it only made 11 this time. They also took a bit longer to bake than they normally would.

The icing is a plain buttercream made from butter, icing sugar and a splash of milk, beaten together with a stand mixer or electric hand mixer until light and fluffy. I then crushed three or four Oreos with a rolling pin until they were dust and mixed them into the icing. I love how the cream in the middle of the cookies makes the icing really white, and makes the crumbs stand out more. And yes that is a whole Oreo poking out of the top of each cake. Let's not think about how many calories they contain...


After a lot of detailed analysis (yum!) we couldn't come to a decision on which was the best way to incorporate the Oreos into the cake, but did agree that the cookie crumb icing is delicious, if a little rich. I actually don't think I could eat several of these cupcakes in one sitting, which makes a change!