Thursday, 20 December 2012

Lazy Mince Pie Stars

Want to bake some homemade mince pies without any of that flour rubbing and dough chilling nonsense that comes with making your own pastry? Then do I have the recipe for you! In fact it probably doesn't even count as a recipe, more of an assembly process. I stole the idea from supermodel-turned-cook (there's a phrase you don't hear very often) Lorraine Pascale - all you need is a pack of shop bought puff pastry (all butter is the best) and a jar of mincemeat. I already had both of these in the house and even managed to get these almost mince pies baked during naptime which shows just how easy they are!

Firstly roll out the puff pastry and cut into smallish squares. I used my cake decorating ruler to cut 10cm  squares because I'm weird like that, but you don't have to be that precise. Take each piece at a time and make a cut into each corner, but don't go all the way into the centre of the square. Drop a spoonful of mincemeat into the middle, then pick up one side of each corner cut and fold it into the middle of the square. Cut out a star from your pastry offcuts and press it into the middle of the pastry. Brush with egg wash and bake until the pastry is puffed and golden (it took about 12-15 minutes at 200C in my oven...). I don't think I explained that very well so here are some photos of the process that hopefully make more sense:


And there you go! The folded over points stuck back up as the pastry puffed on a few of mine, but a dusting of icing sugar hides a multitude of sins. One thing I would recommend is to bake these on a sheet of baking paper to make cleaning up easier. I'd forgotten how mincemeat sets like cement when it's been baked on to anything... Like any pastry these mince pie stars are best eaten while they're still warm, but will keep for a few days in an airtight container - perfect to make over the weekend ready for Christmas!


Sunday, 16 December 2012

Building a Gingerbread House

Gingerbread is one of my favourite Christmas treats, and I've spent the last half an hour using the power of Google to try and find out exactly why it is so closely associated with the festive season. Answers range from gingerbread shapes originally being used as Christmas tree decorations in Germany to 'Jesus was born in a gingerbread manger' (thanks Yahoo! Answers, very helpful...) so I'm not really any the wiser. But no matter what the origin, there's no denying that ginger biscuits baking in the oven makes the house smell like Christmas.

A couple of months ago I picked up a set of Gingerbread House Cutters from Lakeland, thinking that it would be a good project to make nearer to Christmas. Turns out that was a good decision as the set is now no longer available on their website, but plenty of other companies make them (You can also find templates online to print out and cut around like this one from Delicious magazine). It's a bit of an undertaking but if you've got the time it's a really fun way to spend a rainy December afternoon.

I baked the biscuit shapes one evening using the Simple Gingerbread House recipe on BBC Good Food, which pretty much consists of melted butter, golden syrup and brown sugar mixed with flour and ground ginger. A good tip for cutting out the shapes is to roll the dough out on a sheet of greaseproof or baking paper so that you can transfer it straight to a baking sheet, as the larger pieces can stretch and break if you try to pick them up and move them. My only tweak to the shapes was to cut out some heart shaped windows on each side of the house. They were baked for around 10 minutes until the gingerbread was firm but not too browned, then cooled for 10 minutes on the tray until they're firm enough to move to a cooling rack. I always use Lakeland My Kitchen Baking Sheets for biscuits and cookies - even without the baking paper nothing ever sticks to them and they bake really nice and evenly.


Once all of the pieces are baked and cooled the real fun begins - constructing the house! Royal icing makes the best 'cement' as it dries hard enough to hold the structure together, but the raw egg whites in the traditional recipe freak me out a bit so I used some Royal Icing Sugar I found in Sainsbury's. It has dried egg whites already included so all you have to do is add water and beat for a while with an electric mixer - easy peasy! I stuck the four sides to the cake board first and left them propped up with glasses for about half an hour and while they were drying 'tiled' the roof pieces with white chocolate buttons. I really wanted to use those chocolate buttons that are covered in hundreds and thousands (Are they called Jazzies? Or have I made that up?) but I couldn't find them at the supermarket. The trickiest bit was sticking the roof pieces on, they were sliding around all over the place and I ended up sitting holding them in place until the icing started to dry a bit.


When it comes to decorating a gingerbread house less is NEVER more. I used 3 bags of white chocolate buttons, 4 tubes of Smarties, 1 large bag of midget gems and 2 packets of Jelly Tots... well it is Christmas after all. And this is the finished product after a light dusting of icing sugar snow:


One of the things I love about gingerbread houses is that no two will ever look the same, and you can completely let your imagination run wild. I'm pretty pleased with my creation but Mini candy canes would be a great addition to the garden, and maybe even some Lindt chocolate reindeer on the roof! If I'm being totally honest this gingerbread recipe isn't the best I've tried, it could do with a lot more ginger and maybe some other spices, but it is very crisp when baked which is useful for building houses. Now we just need to decide if we're going to eat it or keep it as a decoration!

Wednesday, 31 October 2012

The Pumpkin King

I've had a pack of lollipop sticks in the back of my baking cupboard for a while now waiting for an excuse to make cake pops again, and a Halloween party with some friends and their babies was just the occasion. First of all please don't fall for the hype about the cake pop machines that they've started selling in Lakeland et al which bake a tiny and perfectly round cake on a stick - that's cheating. The method I use is from Bakerella who is the cake pop queen, and is really easy if a bit time consuming, but makes far superior pops than the machines.

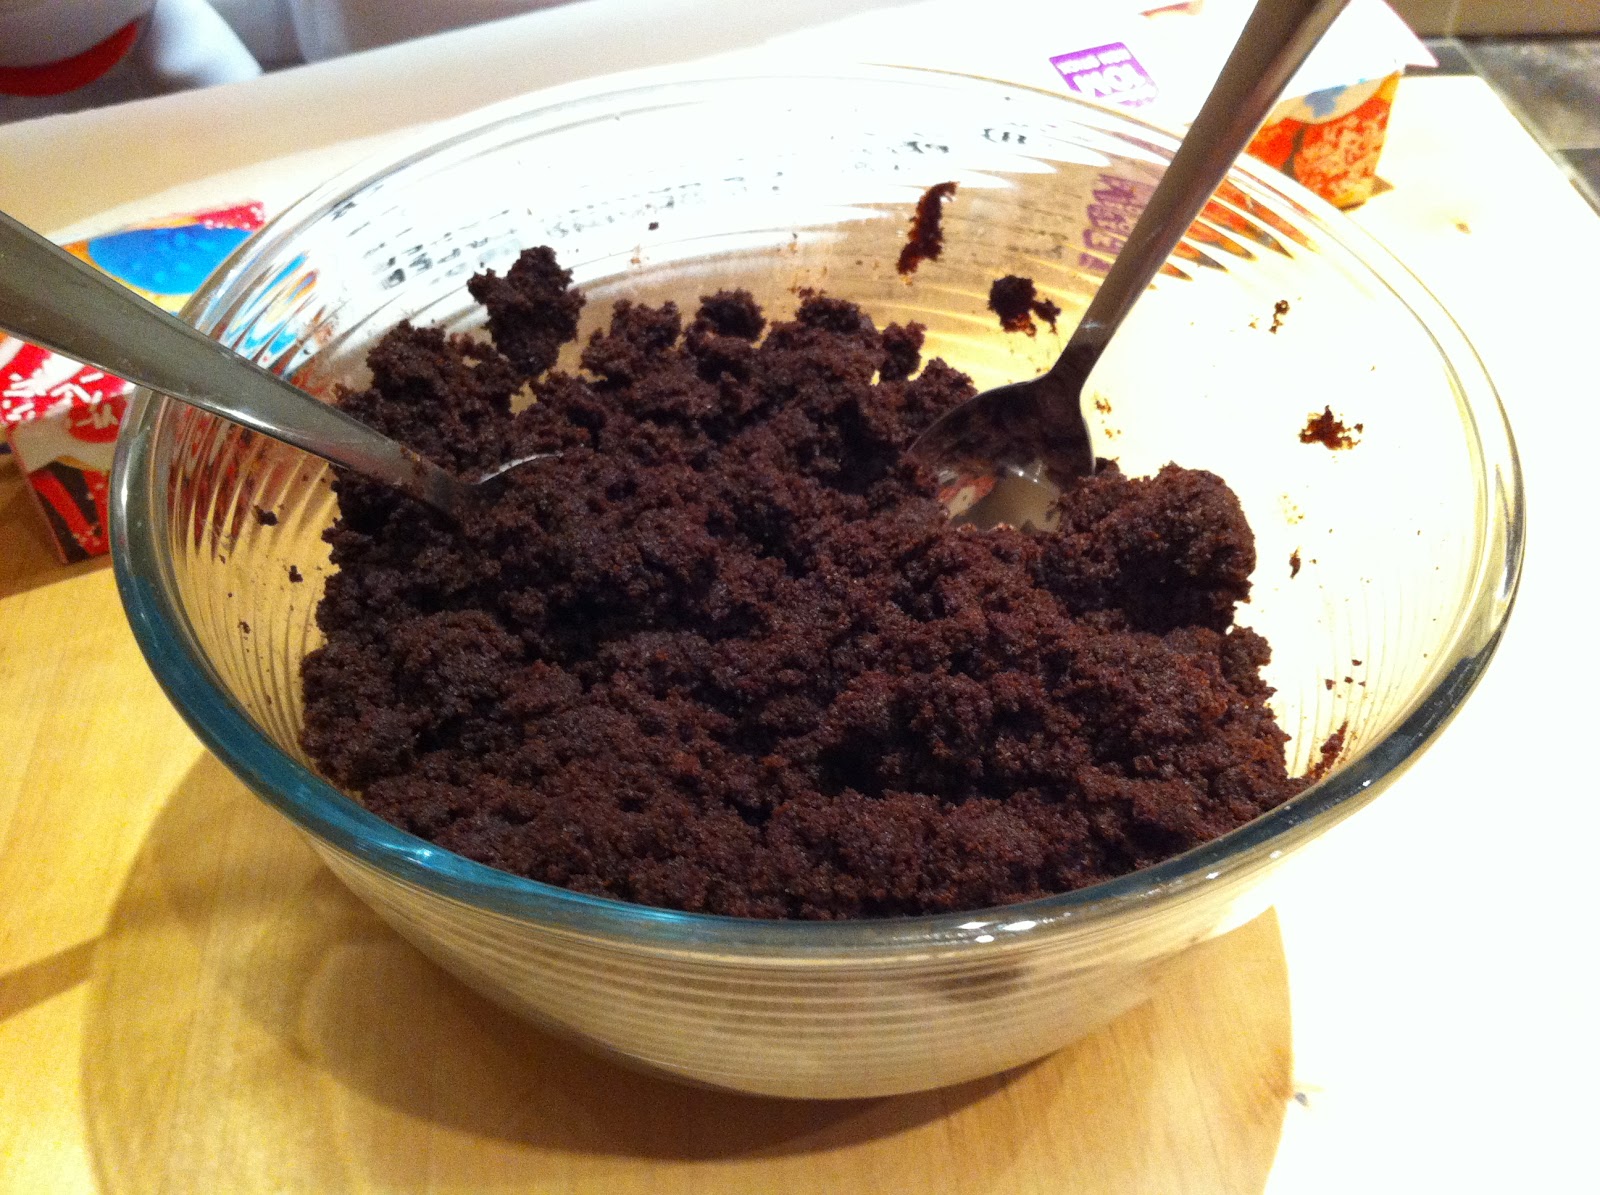
First you bake a cake using any recipe you want, and crumble it up either by hand or in the food processor. Then you mix it with enough buttercream to make the mixture sticky enough to hold together but not too gooey, and use your hands or any cookie cutters or moulds to create whatever shapes you need.


You can then either dip them like this and get cake balls, or put them onto lollipop sticks to make cake pops! I had picked up a bag of orange Candy Melts from Hobbycraft to make pumpkins and then on the spur of the moment decided to also make Pac Man style ghosts using white chocolate. The orange Candy Melts were a bit of a disaster, after melting they were too thick and when I tried to dip a pumpkin it broke off the stick and fell into the bowl! So I resorted to swirling the coating on using a spatula, which did the job but I didn't get the smooth finish that I wanted. The ghosts were also tricky because they're not a round shape so can be a bit wobbly on their sticks - I managed to dip them into the melted white chocolate but a couple did hit the deck as well...

You can really get creative with how you decorate your pops, I used Angelica cut into small strips for the leaves on the pumpkins, and then mixed up a bit of black icing to pipe the faces. I love how happy and cute the ghosts are, didn't want to go too scary for a baby party!


Once the chocolate coating has dried you can lay the cake pops down in a box and they'll keep for up to a week in the fridge, the buttercream stops them from drying out as quickly as a normal cake - but good luck making them last that long because they are delicious!

P.S. We started a new pumpkin carving tradition this year - pretty pleased with my attempt... And I now have an urge to watch The Nightmare Before Christmas!


It's The Great Pumpkin, Charlie Brown

Pumpkin pie is a bit of a mystery to us Brits - is it savoury? Is it sweet? But it contains a vegetable, how can it be a pudding? So I thought I'd have a stab at it this Halloween (see what I did there?!), after all pumpkin does seem to be gaining in popularity on this side of the Atlantic. Starbucks are even doing pumpkin spice lattes over here this year!

A bit of research indicated that the best pie is made with the cans of processed pumpkin puree, which seemed very strange as you'd think that a fresh pumpkin would be the ultimate, but not wanting to stray from tradition I set out on a mission to find some. None of my usual supermarkets had any, but thanks to a tip from my good friend Rachel at Make A Long Story Short I found a couple of tins at a branch of Waitrose I never knew existed!


On to the recipe - again wanting to stick to US tradition I used the method detailed on the back of the tin of pumpkin which called for a pastry case, pumpkin puree, evaporated milk, eggs, sugar and some spices. I made a standard shortcrust pastry using just butter and plain flour, used it to line my gorgeous Le Creuset pie dish, and baked the empty case for 20 minutes. I really should have blind baked it properly using baking beans because my case ended up a bit puffy and uneven, but I persevered. The filling is made simply by combining all the ingredients and pouring them into the prepared pastry case, but I was slightly alarmed at how runny it was! Crossing fingers that my pastry didn't have any holes or cracks in it, the pie then went into the oven to bake until the filling had set.


So far so good... it looked ok after baking, if a little rustic (the edges caramelised where I wobbled pouring the filling into the case), but the real test would be how it tasted. Hmm. I wasn't sure. The pastry was a bit of an epic fail which was disappointing after the recent success of my treacle tart, far too tough and not flaky enough. I found the pie filling a bit... strange. It was a nice smooth texture (especially if you eat it at room temperature) and the spices came through nicely, but I couldn't quite get on with the pumpkin flavour. It reminded me of butternut squash and therefore of soup and roasted vegetables, definitely an acquired taste in a sweet dessert. My other taste tester liked it a lot more than me though so it wasn't a completely wasted effort, and I've got another tin of pumpkin puree in the cupboard so I'm going to try that in a different recipe, here's hoping I get on a bit better with it!


Friday, 19 October 2012

Trick or Treat? Halloween Cupcakes

I love Halloween. I know I shouldn't, I should think it's a ridiculous Americanised holiday that was created to line the pockets of 'the man', but I can't help myself. After all it's pretty much just an excuse to dress up and eat fun size chocolate bars, what's not to like? I've got a list as long as my arm of Halloween things I want to make, but thought I'd start off simple this week with some cupcakes.

I've had my eye on Sweetapolita's Vanilla Funfetti Cupcakes for a while now, and when I found some black and orange sprinkles at the supermarket it seemed only appropriate that they be used to make my own seasonal version. As far as I can tell, 'funfetti' is just a made up word for 'sprinkles mixed into cake mixture', so I started with my basic sponge recipe and threw a handful of my spooky sprinkles in before baking. I half expected them to all sink to the bottom the way cherries or chocolate chips do if you're not careful, so it was a pleasant surprise when they stayed nicely distributed throughout each cupcake.


I toyed with the idea of decorating the tops with two-tone black and orange buttercream (as per last week's recap post), but wanted to change things around a bit so went for a two layer frosting - a swirl of orange first, topped with a smaller swirl of black. FYI, it is apparently impossible to make proper black buttercream. Black icing colour just made it grey at best, so I added a bit of cocoa powder and ended with dark brown.

The 'funfetti' technique is a really nice touch, I didn't know if the sprinkles would give the cake a strange crunchy texture, but they dissolved completely and left little dots of colour behind - you can't see very well in my rubbish photos though. I'm already imagining a Christmas version using red and green sprinkles!


Difficulty Rating: 1/5

Shopping List:
Wilton Skeleton Baking Cups
Wilton Icing Colours - Black & Orange
Black & Orange Sugar Strands

Sunday, 14 October 2012

Recap: Two Tone Frosting

When I relaunched the blog a little while ago, I took down all of the old posts for a fresh start. But I loved some of those cakes too much to not have them on here at all, so every once in a while I plan on pulling one from the archive and reposting it. Nothing to do with the fact that my house is riddled with illness this weekend meaning I haven't had any time to bake... honest! So here's a recap of my cupcakes with two tone frosting, always a crowd pleaser!


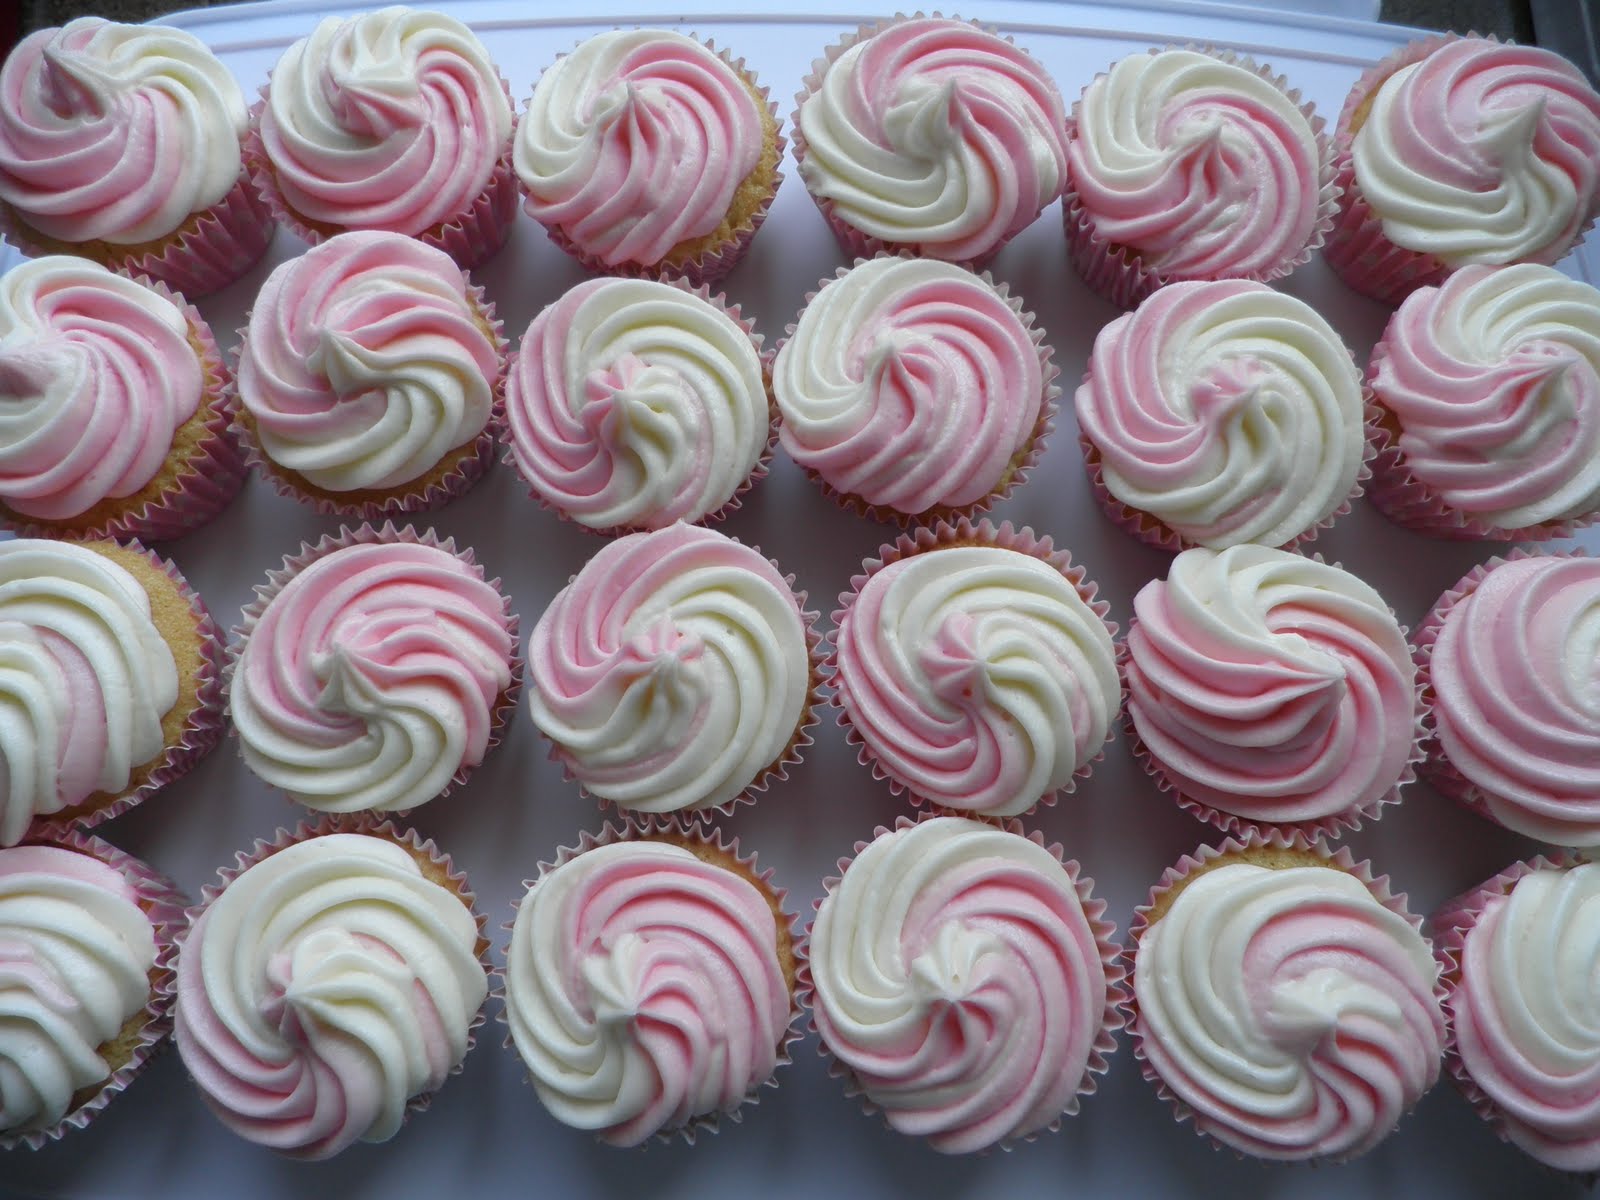
This is something I'd been wanting to try for a while after seeing some really great designs in Hello, Cupcake!, but had never got round to it. As I was making some cupcakes last weekend to celebrate the birth of my new niece, it seemed like a perfect opportunity to try pink and white two tone buttercream icing.

There are a few tutorials online with a few different methods of mixing the colours together, but this seemed like the easiest way. You start with a load of plain vanilla buttercream, and then separate it out into different bowls for each colour you want to use. I went for just two colours, but I'm sure it would work just as well with three or maybe even four. Once you've made each bowl of icing the right colour (I left one bowl plain and tinted the other using Wilton Icing Colour in Rose, which made a really sweet baby pink), put each colour into a separate piping bag - disposable ones are best for this so you can trim the ends to the same size. Then take another piping bag, put a large star tip in the bottom, then put each filled bag inside it next to each other.


Then just pipe the icing onto your cakes as normal and voila - two tone frosting!


UPDATE: You can also use this method to do tri-tone frosting using three different colours in three separate piping bags, like I did over the summer for these patriotic red, white and blue cupcakes.


Friday, 5 October 2012

Savoury Snacks

Yes you read that correctly - savoury! Since starting the first version of this blog over 18 months ago I had yet to attempt a savoury bake. I'm usually too fixated on sugary sweet creations to pay any attention to the less glamourous pies and pasties, but we've just returned from a week in Cornwall and needed something to make our packed lunch for the drive down a little more interesting. As I've mentioned before, pastry has always been my baking achilles heel but I'm slowly overcoming my fear of it and wanted to make some classic picnic snacks - sausage rolls and cheese straws.

The sausage rolls were based on recipe from the always reliable Delia Smith, the only addition was some finely chopped onion mixed into the sausagemeat to give it a bit more flavour. I bought the sausagemeat from Sainsbury's, but you could also buy some nice sausages and take the meat out of the skins and it would do the same job. The pastry was surprisingly easy to make, grating the semi-frozen butter was a great way to get small pieces that can be rubbed into the flour without melting too much. Strictly speaking it's not a puff pastry, but it was much quicker than all that rolling and folding and rolling and folding... As always it's best not to overwork the pastry and when I was rolling it out you could clearly see long strips of butter - that's good because it means you'll get a nice flaky crust. I cut the sausage rolls quite small so they would be almost bite size, but they would also be tasty if they were made a little bigger as a more substantial snack.

I didn't use a recipe for the cheese straws, but they're so simple that you don't really need one. It's just the same pastry as the sausage rolls, but made cheesy with the addition of some grated cheddar. I rolled out the pastry, sprinkled it with the cheese, and then folded it and rolled again so that the cheese is trapped inside. Then cut into strips and lay on a baking tray - I twisted them slightly so they're more of a cheese twist than a cheese straw, but either way would work. As I was frantically trying to pack a week's worth of supplies for a six month old baby at the time I didn't have time to take proper photos, so I'm afraid you'll have to settle for an Instagram shot!


The general consensus was that these were absolutely delicious, but then anything you wrap in that much pastry tends to taste good really doesn't it?! The cheese did try to escape from the twists a bit, I'm not sure if I used too much cheese (is that even possible?) or if that's just what happens, but it didn't detract from the deliciousness. I'm definitely converted to the savoury side of baking now, and after a week of eating proper Cornish pasties I'm feeling inspired to attempt those in the near future - watch this space!