This is something I'd been wanting to try for a while after seeing some really great designs in Hello, Cupcake!, but had never got round to it. As I was making some cupcakes last weekend to celebrate the birth of my new niece, it seemed like a perfect opportunity to try pink and white two tone buttercream icing.
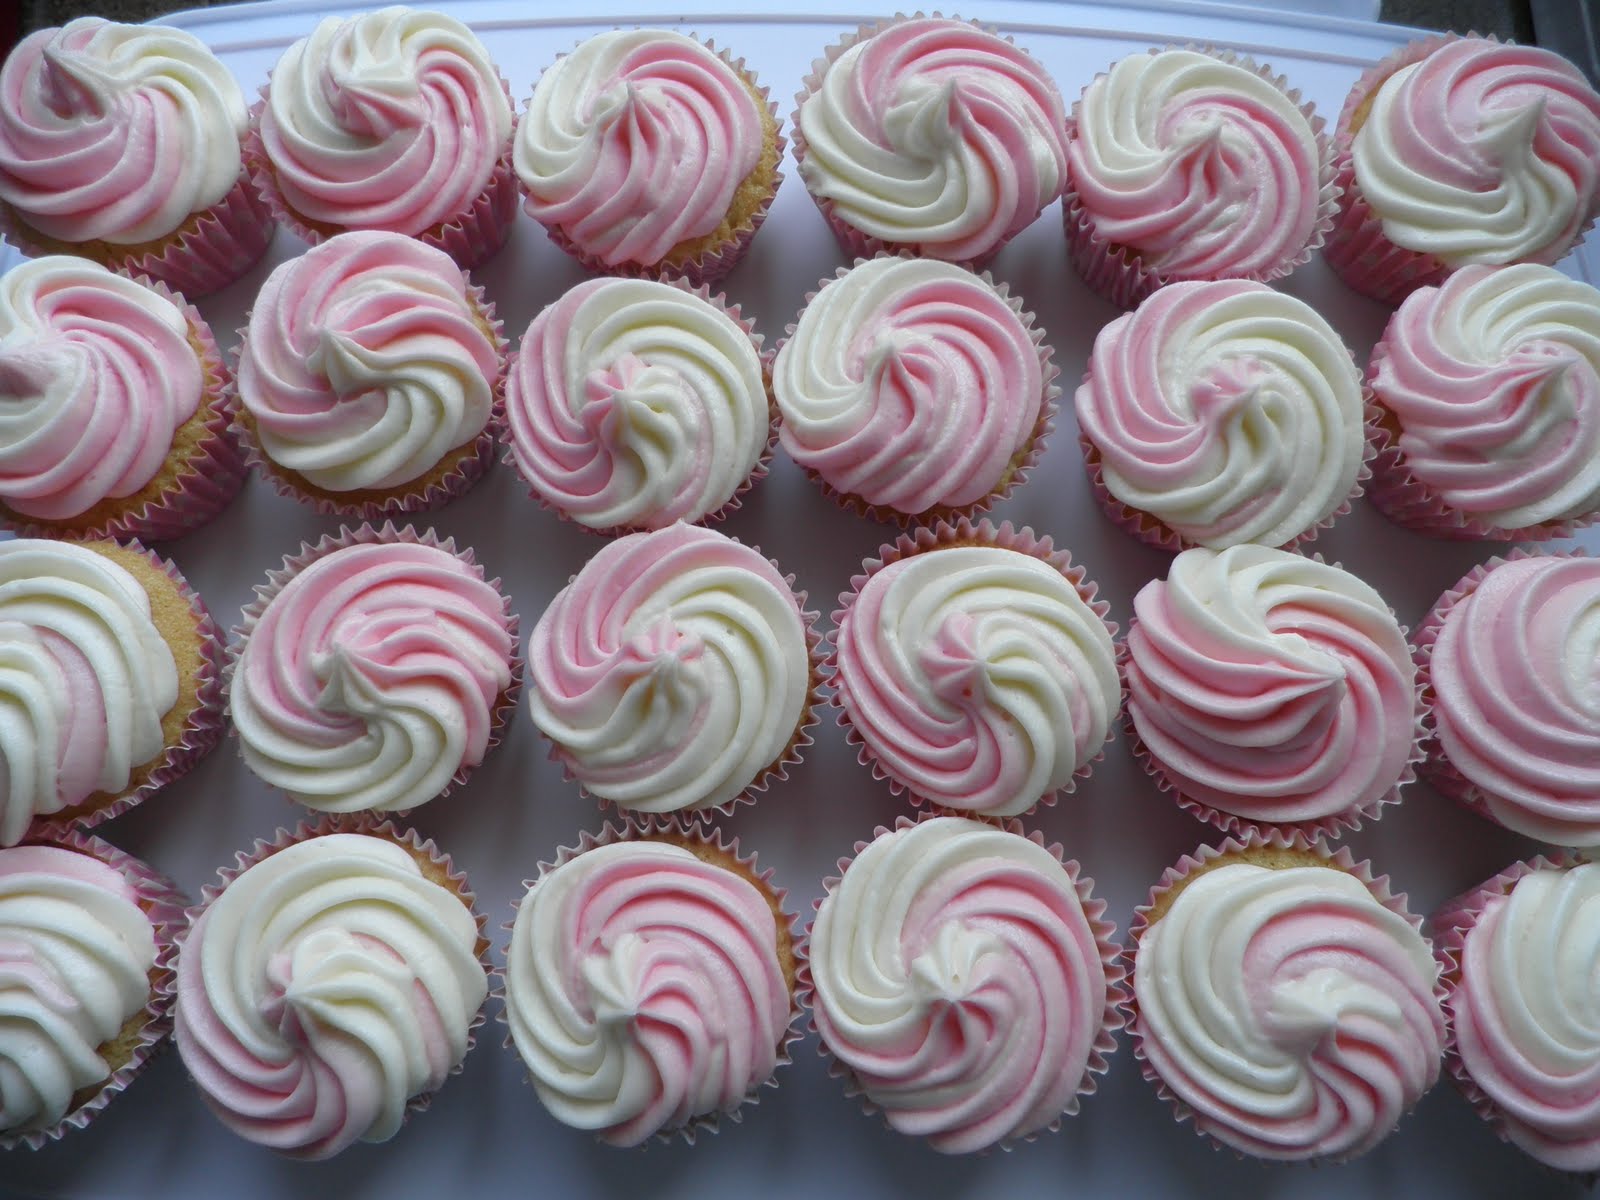
There are a few tutorials online with a few different methods of mixing the colours together, but this seemed like the easiest way. You start with a load of plain vanilla buttercream, and then separate it out into different bowls for each colour you want to use. I went for just two colours, but I'm sure it would work just as well with three or maybe even four. Once you've made each bowl of icing the right colour (I left one bowl plain and tinted the other using Wilton Icing Colour in Rose, which made a really sweet baby pink), put each colour into a separate piping bag - disposable ones are best for this so you can trim the ends to the same size. Then take another piping bag, put a large star tip in the bottom, then put each filled bag inside it next to each other.


Then just pipe the icing onto your cakes as normal and voila - two tone frosting!
UPDATE: You can also use this method to do tri-tone frosting using three different colours in three separate piping bags, like I did over the summer for these patriotic red, white and blue cupcakes.

No comments:
Post a Comment